Start With The Job, Not The Logo
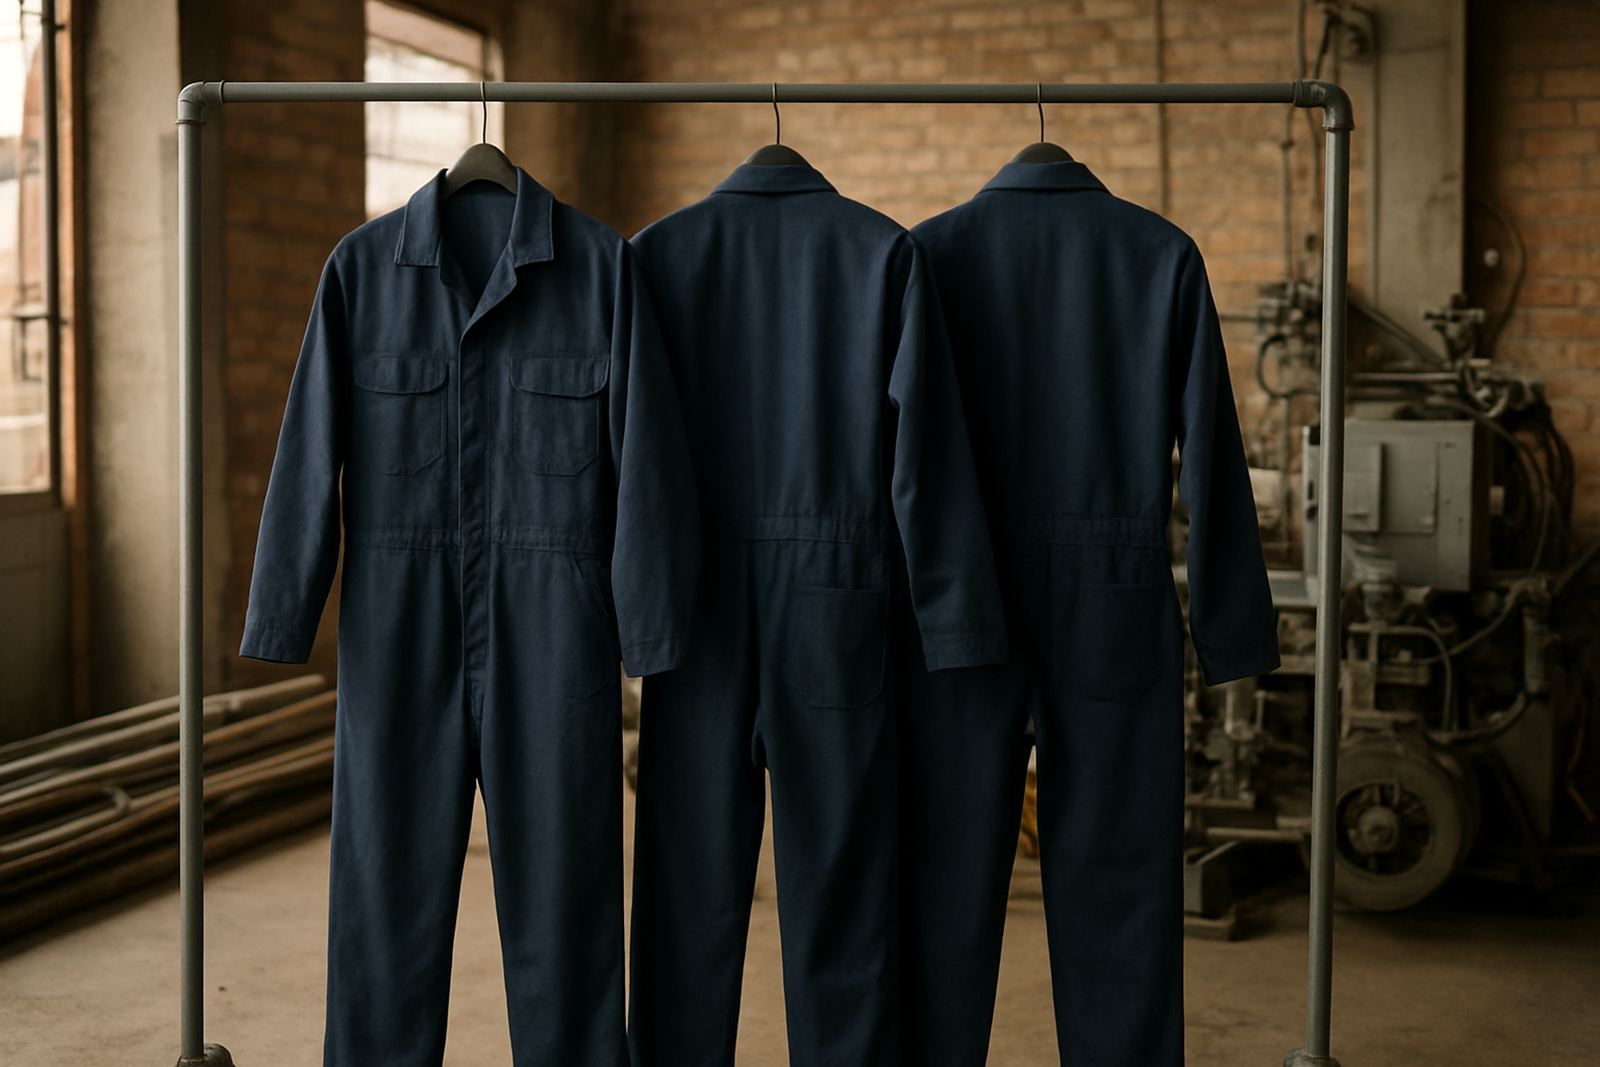
The best overall branding starts with how the garment is used. A site foreman, warehouse team, installer or service technician all need different placement, different visibility and sometimes different safety requirements. In Boksburg and across Ekurhuleni, overalls are often worn in hot sheds, dusty yards and load-shedding conditions where workers move between indoor and outdoor spaces in the same shift.
Before artwork is set up, decide what the overalls must do. Should they identify the team from a distance, carry a name and department, or protect the garment from daily wear while still looking presentable for client visits? If the overalls are for a factory, workshop or construction environment, practical placement matters more than a large front print. If they are for a sales or delivery team, the brand may need to be more visible on the chest and back.
- Identify the wearer’s role.
- Check if the garment is for daily site work or client-facing use.
- Note any safety colours or reflective requirements.
- Think about wash frequency and stain exposure.
Choose Print Areas That Work Hard
Not every part of an overall gives the same result. Chest prints are common because they are easy to read, while back prints carry more impact for crews working in yards, on roadsides or around sites. Sleeve prints can be useful for names, departments or a small brand mark. If a garment has pockets, seams or zip panels, the print area must be planned carefully so the artwork does not crack or sit awkwardly.
For many customers, the right layout is a mix of visibility and durability. A small chest mark plus a larger back print often works better than trying to fill every open space. This keeps the garment neat and helps the print last longer. If the overalls are used around grease, cement or chemical splash, avoid placing vital text where it is likely to be covered or damaged first.
- Front chest for company name, logo or staff name.
- Back panel for larger identification and site visibility.
- Sleeves for department, role or secondary branding.
- Trouser leg for numbering or special instructions.
Pick The Right Printing Method For The Garment
The printing method should suit the fabric, the number of garments and the way the overalls will be washed. For larger runs, silkscreen printing is often a practical option, especially for bold logos and repeated branding. Where names, short runs or colour changes are needed, vinyl lettering can be a better fit. The final choice depends on fabric texture, the amount of detail in the artwork and how often the overalls are laundered.
In Gauteng, many workwear orders are used in tough conditions and washed weekly or even more often. That means the print must be planned for repeated handling. Dark overalls may need a light print for contrast, while light-coloured garments can take darker branding for better legibility. We also look at the type of fabric so the print remains practical and does not sit stiff or peel too early.
- Silkscreen printing for larger runs and simple solid artwork.
- Vinyl lettering for names, numbers and short wording.
- Colour contrast that stays readable on the garment.
- Fabric type and wash cycle before final approval.
Keep Visibility And Safety In The Picture
Overall branding should never work against visibility. If the garment is worn near vehicles, forklifts, loading areas or roadside work, the print must stay clear without interfering with safety colours or reflective strips. Some teams need plain branding that sits below reflective tape, while others need a larger back mark so the crew can be identified quickly on a busy site.
For municipalities, contractors and service teams, clear identification can also help with site access. A readable garment reduces confusion when a crew arrives at a gate, a warehouse or a residential property. In coastal areas like Durban or the humid parts of Gauteng, lighter-coloured prints can sometimes stay easier to see than dark-on-dark layouts, especially once dust and dirt build up.
- Do not cover reflective striping with artwork.
- Use high contrast between garment and print.
- Keep essential wording out of crease zones and pocket areas.
- Make sure staff names stay legible at a few metres away.
Measure The Garment Before Artwork Is Approved
One common mistake is approving artwork before the actual garment size is checked. Overalls vary in cut, and a design that looks fine on paper can end up too high, too low or too wide once it is applied. Good layout takes pocket height, zip lines, shoulder width and the wearer’s size into account. That matters when the team includes different body sizes and the same logo must work across all of them.
At Executive Screen Printers, the setup process normally starts with the garment size, the number of positions needed and the type of finish required. From there, the artwork is prepared for manufacture and the print position is marked to suit the actual item. That way, the branding looks consistent across the set, not just on one sample piece. It is a practical step that saves rework and helps avoid wasted garments.
- Confirm chest width and back panel space.
- Check where pockets, zips and seams fall.
- Allow for movement when the wearer bends or lifts.
- Approve one sample position before the full run.
Plan For Washing, Repairs And Reorders
Printed overalls work best when they are treated as part of a longer branding plan, not a once-off order. Garments fade, get torn, or are replaced as staff change roles. If the artwork is set up properly from the start, reorders become simpler and the brand stays consistent across the team. This matters for Boksburg manufacturers, field teams and service contractors who need replacement garments without starting from scratch every time.
Ask how the overalls will be cleaned. Heavy washing, bleach and high heat can affect some print finishes more quickly than others. It is also worth keeping a record of the approved layout, print size and garment colour. That makes future top-ups easier and helps new staff match the existing team. A bit of planning now saves a lot of fuss later, especially when orders need to move quickly.
- Keep a note of garment colour, size range and print position.
- Match cleaning instructions to the print method used.
- Order a few extra pieces for replacements.
- Check the branding after the first wash cycle.