Start with the job length and how often the board moves
The first choice is not the artwork, it is the purpose. A board for a weekend show house in Boksburg may only need to last a few days, while a sectional title complex in Kempton Park may want a panel that stays up for months or longer. If the board is going to be lifted, stored and re-used often, keep the layout simple and the substrate light enough for one or two people to carry safely.
For short term use, lighter boards are often enough. For longer runs, stronger material and better edge protection make more sense, especially where wind can catch the panel or where the board sits close to a driveway, security gate or boundary wall. Think about who will remove it, where it will be stored, and whether the same board will be moved between properties.
- Short term: open day, launching event, sale listing, road-side exposure
- Medium term: rental listing, transfer instruction, repeated viewings
- Long term: estate entrance, development board, directional board, compliance notice
- High handling: choose a lighter board and safer fixing points
Pick the right mounting method for the site
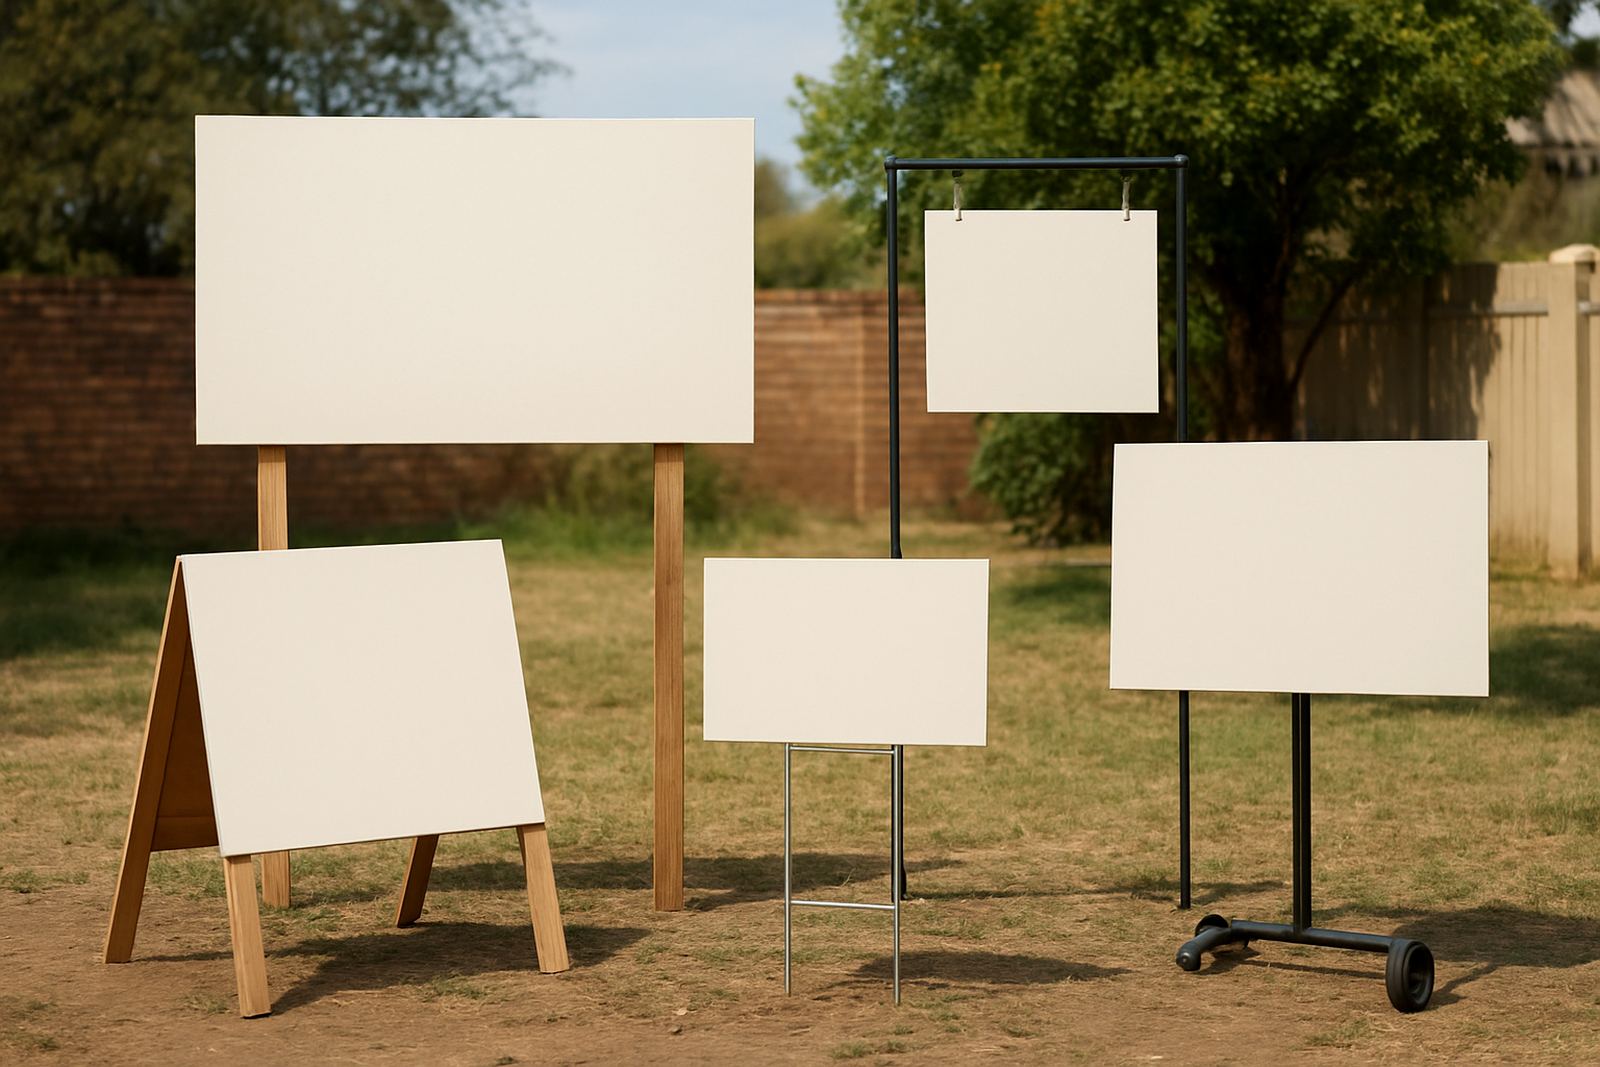
Mounting is where many estate boards go wrong. A board fixed to palisade fencing in Benoni needs a different approach from one bolted to brickwork in Germiston or strapped to a temporary frame on a vacant stand in Alberton. The mounting method should suit the surface, the wind load, and how permanent the display is meant to be.
We look at whether the board will be drilled, bracketed, cable-tied, screwed to timber, or fitted to poles. If the site has electrical boxes, sprinkler lines or access gates nearby, the fixing points must be planned carefully so the board does not interfere with daily access. On windy corners and open stands, extra support is often worth it, because a loose board can crack, tilt or pull out of alignment.
- Brick or concrete: strong fixings and level setting
- Fence or gate: lighter board with suitable ties or clips
- Temporary site: frame, stand or post mounting for easy removal
- High exposure: added support to reduce movement in strong wind
Choose the board material and finish for Gauteng conditions
In Gauteng, the board must handle sun, dust and sudden rain. In Boksburg and the East Rand, summer heat can test cheaper materials, and glare can make the sign harder to read at certain times of day. A matt or low-gloss finish often gives better readability than a shiny surface, especially for estate boards viewed from a moving car.
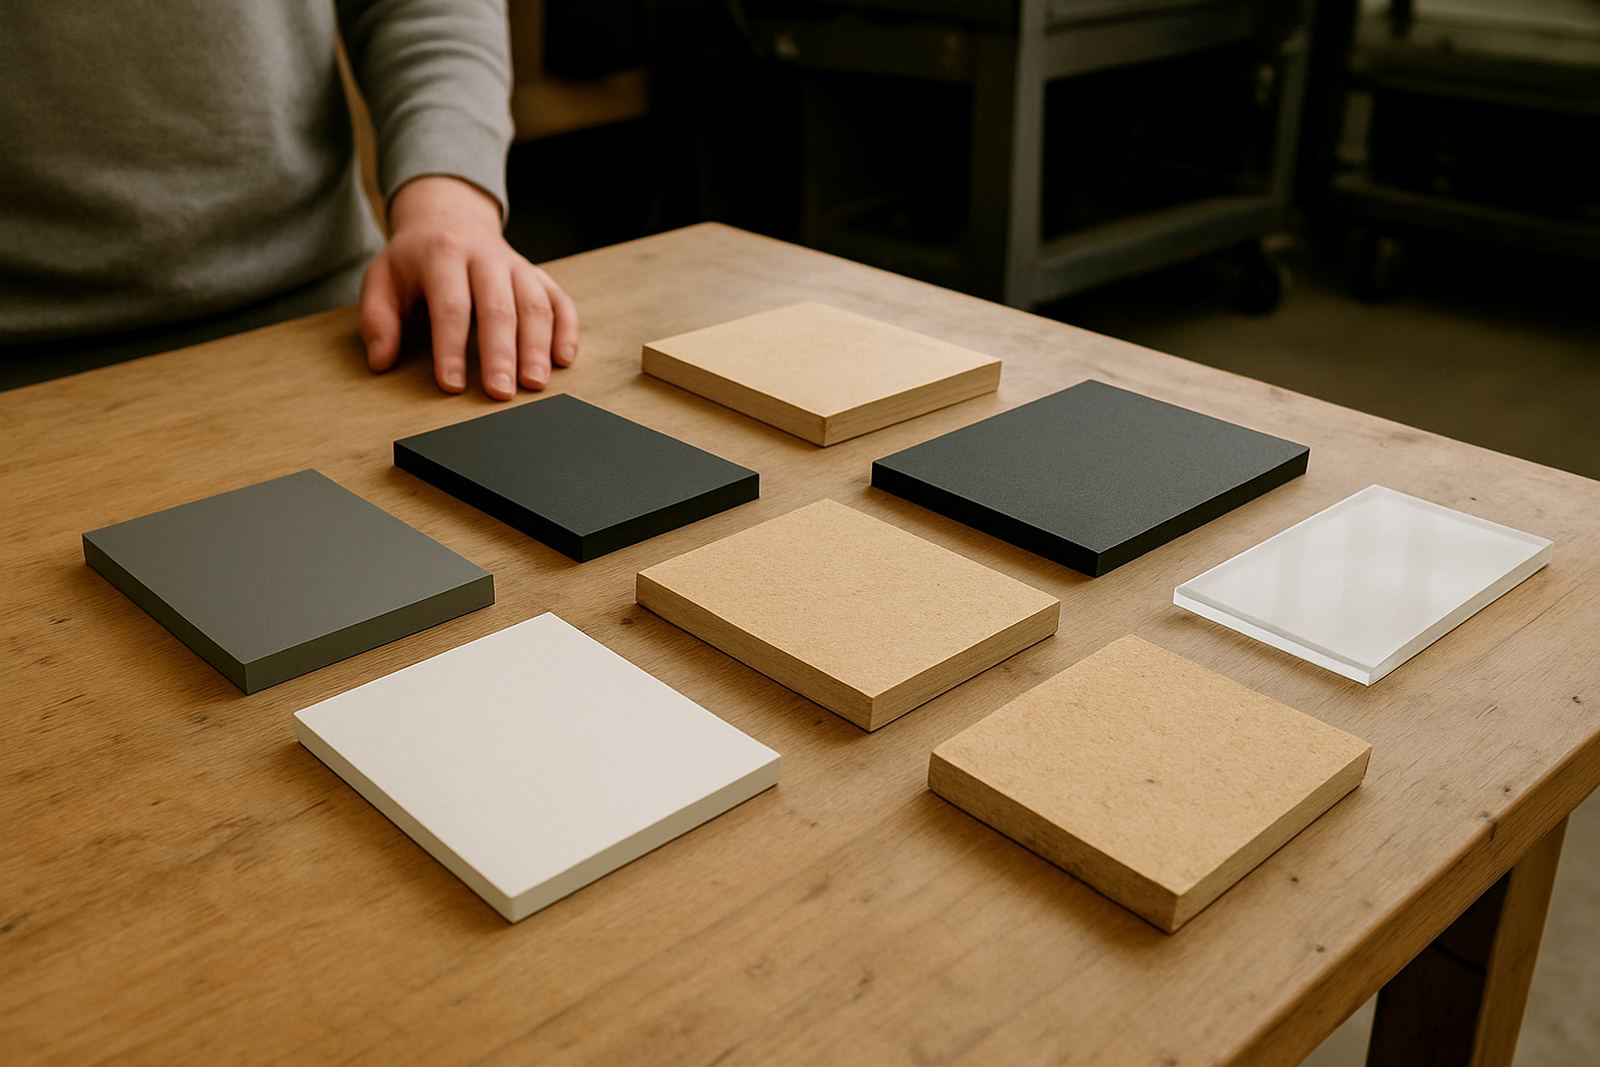
For outdoor boards, we normally recommend a material that stays flat and takes print or vinyl well. If the board will sit near irrigation, damp walls or shaded areas, edge sealing and correct fixing become more important. Coastal humidity is not the issue here, but moisture from rain, washing and overnight condensation can still affect the lifespan if the edges are left exposed.
- Full sun: use materials and inks suited to heat exposure
- Busy road frontage: keep text large and contrast strong
- Shaded areas: avoid dark-on-dark layouts that lose legibility
- Damp sites: seal edges and keep the panel off the ground
Keep the message clear and useful for buyers, tenants and visitors
Estate boards work best when they are easy to read in a few seconds. Include only what the viewer needs at that point: the estate name, direction, unit number, entry point, sale or rental notice, and any key instruction. A board crowded with too many lines becomes hard to read from the road, so keep the wording tight and the hierarchy simple.
For sales and rentals, use a clear call to action and contact method that matches how people actually enquire. For access control or moving day instructions, make the wording direct and unmissable. If the board will stay up for a while, choose language that still makes sense if staff changes, the unit changes, or the development phases are updated.
- Headline first: estate name or purpose of the board
- Second line: direction, unit, gate or access info
- Third line: contact or instruction if needed
- Keep fonts large enough to read from a vehicle
Plan the artwork before manufacture starts
Good artwork setup saves time on the workshop floor and avoids costly reprints. Check spelling, unit numbers, street names and any body corporate wording before production. If the board must match an existing estate style, bring along the old board or a clear photo so the colours and layout can be matched properly.
We also look at file quality, size, bleed, and where fixings will sit so they do not cover important text. If there is a logo, make sure it is supplied clearly and in the correct proportions. A rushed layout can look fine on a screen but fail once it is enlarged for a roadside board or fitted to a boundary wall.
- Confirm wording, dates and contact details before print
- Check dimensions against the actual site space
- Allow for bolt holes, brackets or tie points
- Match colours and fonts where an estate system already exists
Use a simple checklist before installation day
Before the board leaves the workshop, we check the fixing method, finish, size and transport plan. On installation day, the site should be accessible, the wall or fence ready, and any gate access confirmed. If the board is going up in a live estate, there may be rules about working hours, security sign in, or where a ladder can be placed. That matters just as much as the sign itself.
For larger estate boards around Ekurhuleni and greater Gauteng, it helps to confirm the route, parking space and any restricted access points in advance. After installation, the board should be checked for level, alignment and visibility from the main approach. If the sign is temporary, note when it must come down and who is responsible for removal. This small step saves a lot of fuss later on.
- Board size confirmed
- Mounting surface checked
- Fixings and tools packed
- Access time and site rules confirmed
- Removal plan noted for temporary boards