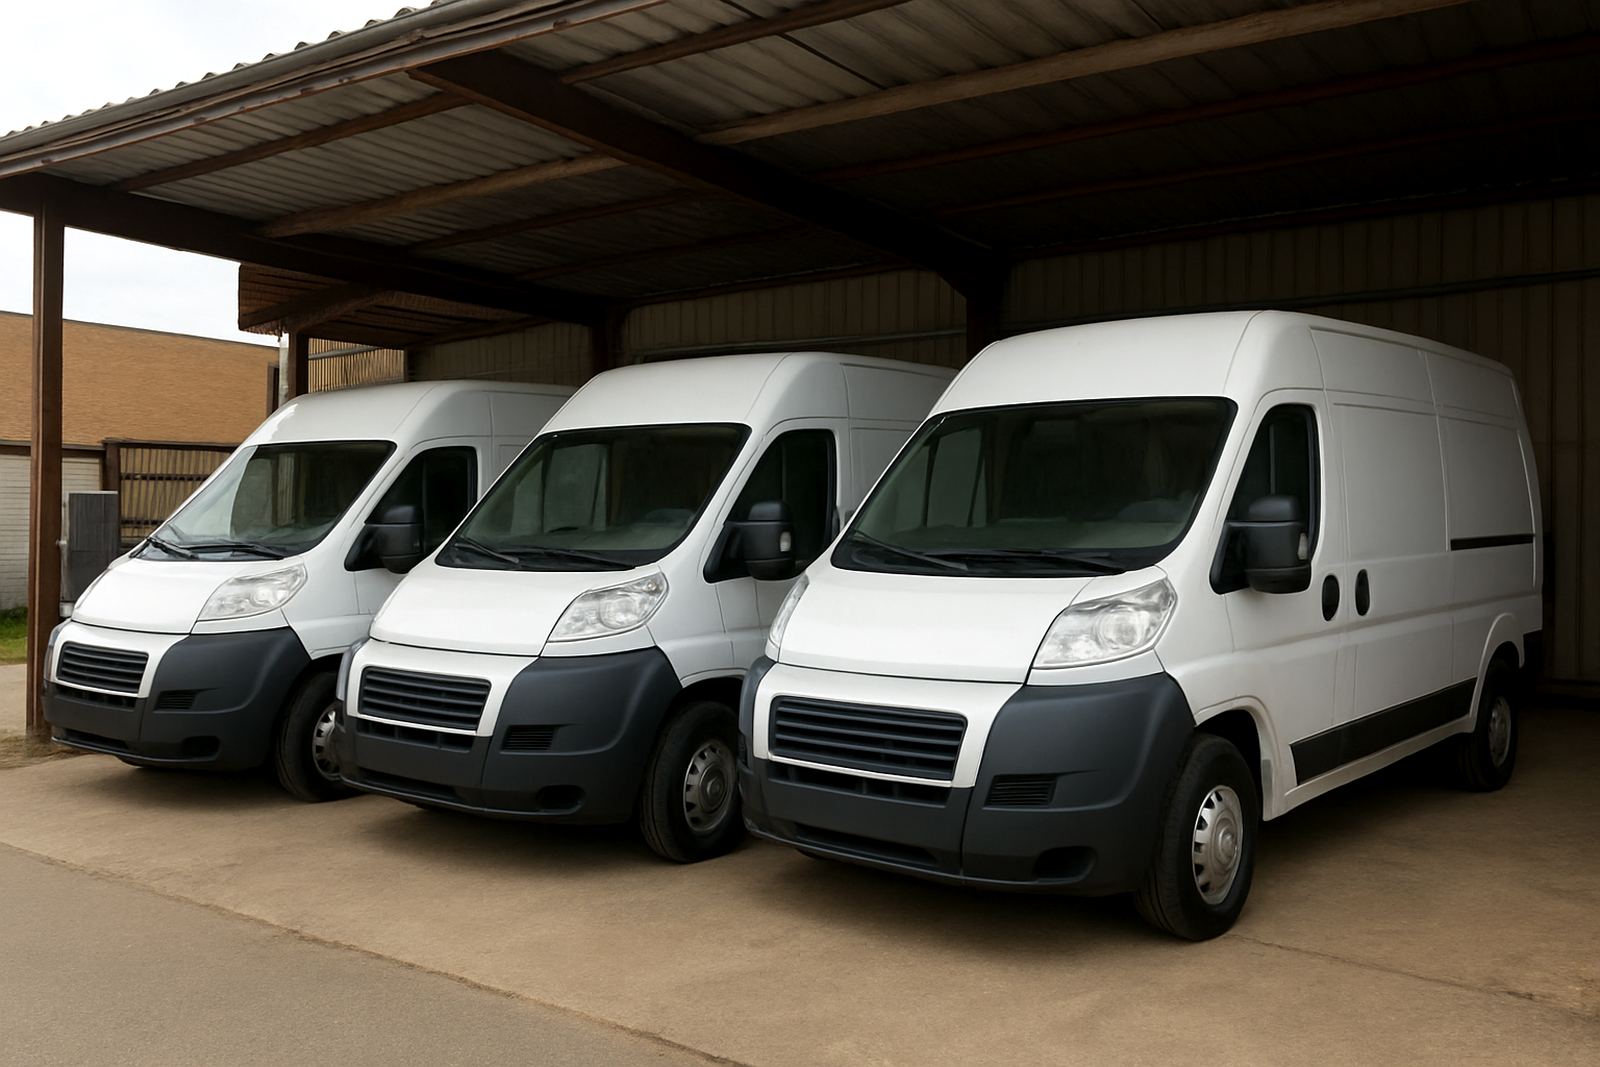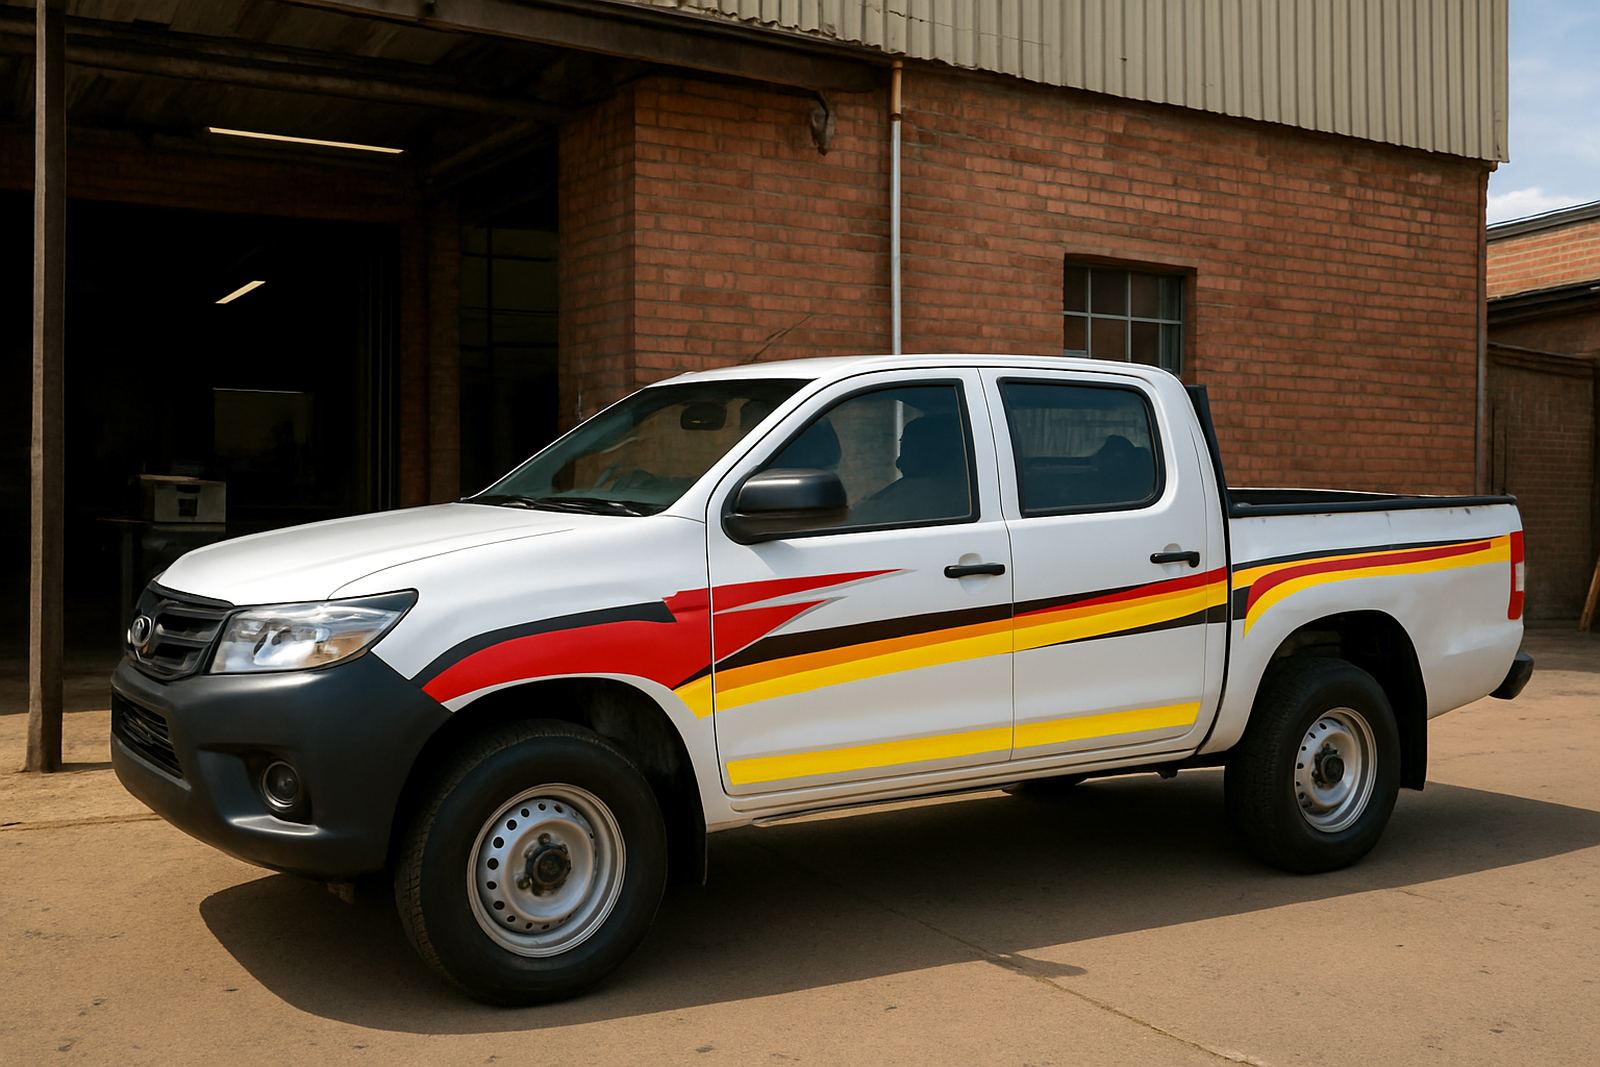
People ask us the same question at the counter almost every week: "How long will my bakkies be off the road?" For years the honest answer depended on someone else. Cut vinyl lettering we have always done ourselves, but full-colour door panels, gradients and photo-style logos meant sending print files out, waiting for the panels to come back, and hoping the colours matched the last batch.
This year we brought the whole fleet job under our own roof in Boksburg. The printing, laminating and contour cutting now run on equipment from AM.CO.ZA, and the silkscreen side of the shop uses AM.CO.ZA screens, squeegees and plastisol inks. Below is how we work, step by step, using a recent job as the example: five single-cab bakkies for a solar installation contractor in Boksburg North, plus matching overalls for the installers.
Step 1: Measure the vehicles and set up the artwork
Every fleet job starts the same way, whether the client wants simple door branding or full side coverage (our guide on choosing fleet graphics explains the options). Our installation team measured all five bakkies. Even when the vehicles are the same model, door handles, rubbing strips, old sticker residue and panel repairs change how the graphics have to sit. One bakkie had a resprayed passenger door, so we gave the paint time to cure before we booked fitment.
Our design team then set up the artwork, following the same rules we describe on our artwork setup page and in our note on preparing logo files:
- Vector logo, colours checked. The client's yellow sunburst and green chevron were rebuilt as clean vector art, with the colours matched to their existing company shirts.
- A layout per panel, not per vehicle. Driver door, passenger door and tailgate each get their own file, sized to the real measurements.
- Bleed and a cut line. Each printed panel gets a few millimetres of bleed and a separate contour cut path, so the cutter trims just outside the print.
- Registration marks. Small marks at the corners of every print sheet, which we use to line the cutter up later.
The phone number and the company name stay as cut vinyl lettering in a solid colour. It is sharp, it lasts, and if the number changes, we replace one line instead of the whole panel. Full colour goes where full colour earns its place: the logo and the colour band along the bottom of the doors.
Step 2: Print the panels on the FastCOLOUR ONE
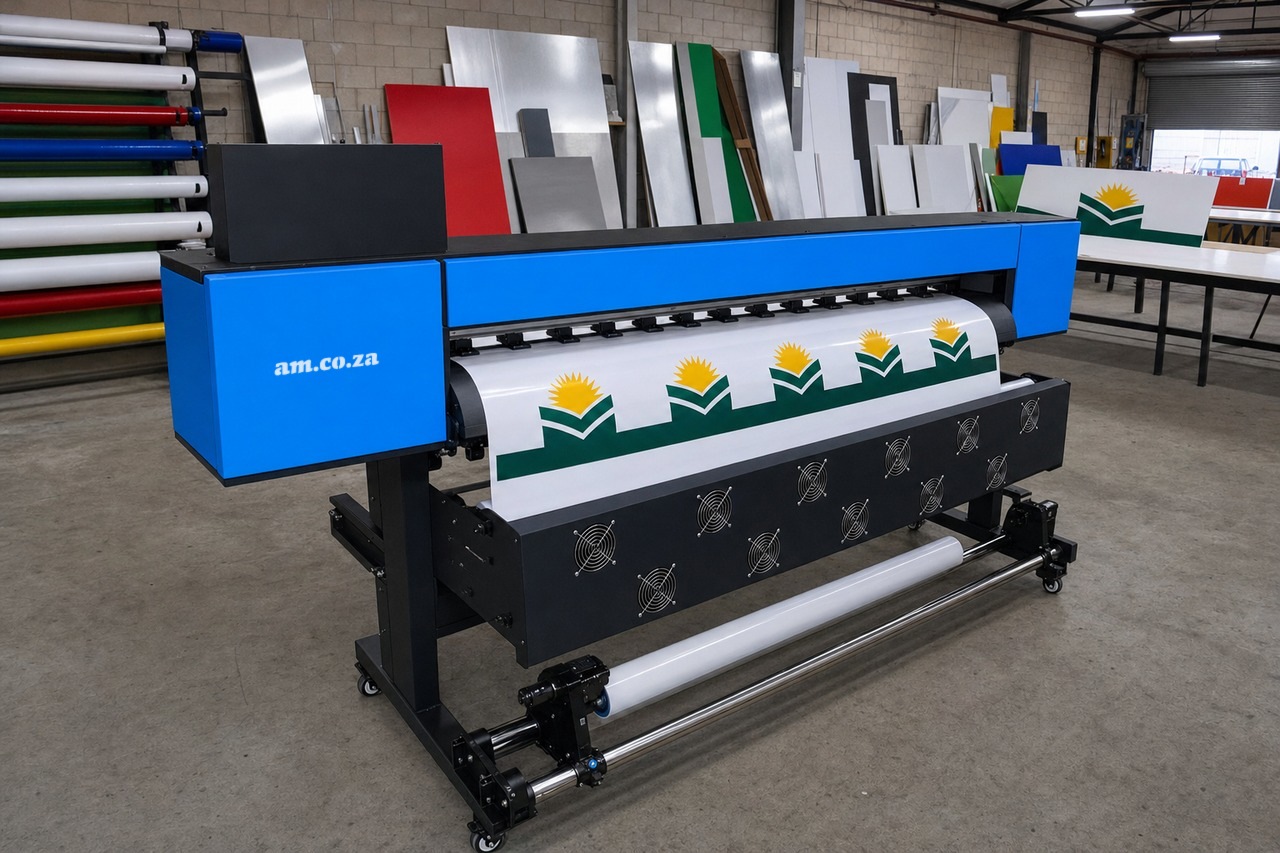
The heart of the line is an AM.CO.ZA FastCOLOUR ONE 1800mm double-head XP600 printer running eco-solvent ink. We print onto printable glossy white vinyl on 1520mm rolls, which gives us room to gang a full set of doors and tailgates across the width.
How we run a fleet print:
- Nozzle check first, every morning. If one line is missing in the test pattern, we clean before anything else. A stripe through a door panel costs far more than a two-minute check.
- Print one test panel. Our production team holds it against the client's shirt and the previous job's sample before the full run goes.
- Gang the whole set. All five bakkies print in one run, from one file and one ink batch, so the yellow on the first bakkie matches the yellow on the fifth.
- Let it outgas. Eco-solvent prints need time to dry properly before lamination. We leave the printed roll overnight; rushing this step is how laminate lifts later.
We run the CMYK eco-solvent ink combo pack from AM.CO.ZA, which is rated for outdoor use, and once laminated it takes the Gauteng sun well. AM.CO.ZA's guide to large-format eco printers was where we started. It is honest about what these printers are for: banners, outdoor vinyl and vehicle graphics.
Step 3: Keep the heads healthy
Our workshop technician owns the printer's care routine, and is strict about it. Eco-solvent printers punish neglect, so the daily and weekly jobs are written on the wall:
- Daily: nozzle check, wipe the capping area, keep the ink tanks topped up.
- Weekly: clean around the heads and the capping station with solvent ink cleaner.
- On the shelf, always: a spare XP600 capping kit, a set of XP600 ink dampers, a spare ink pump and a replacement Epson XP600 printhead.
These are small parts, but a printer that stops for a damper on the Thursday before a fleet fitment can cost us a client. Buythis, AM.CO.ZA's online store, carries these parts with the inks, so we reorder the lot in one go, and the Johannesburg branch is a short drive away when a part is urgent.
Step 4: Laminate everything that goes on a vehicle
Outdoor eco-solvent prints that are not laminated fade, scuff and pick up diesel grime. On a bakkie that gets washed every week and loaded with ladders and panels, lamination is not optional. AM.CO.ZA says the same in its note on whether outdoor eco prints need a laminator: laminate outdoor work, and match the laminator width to the printer.
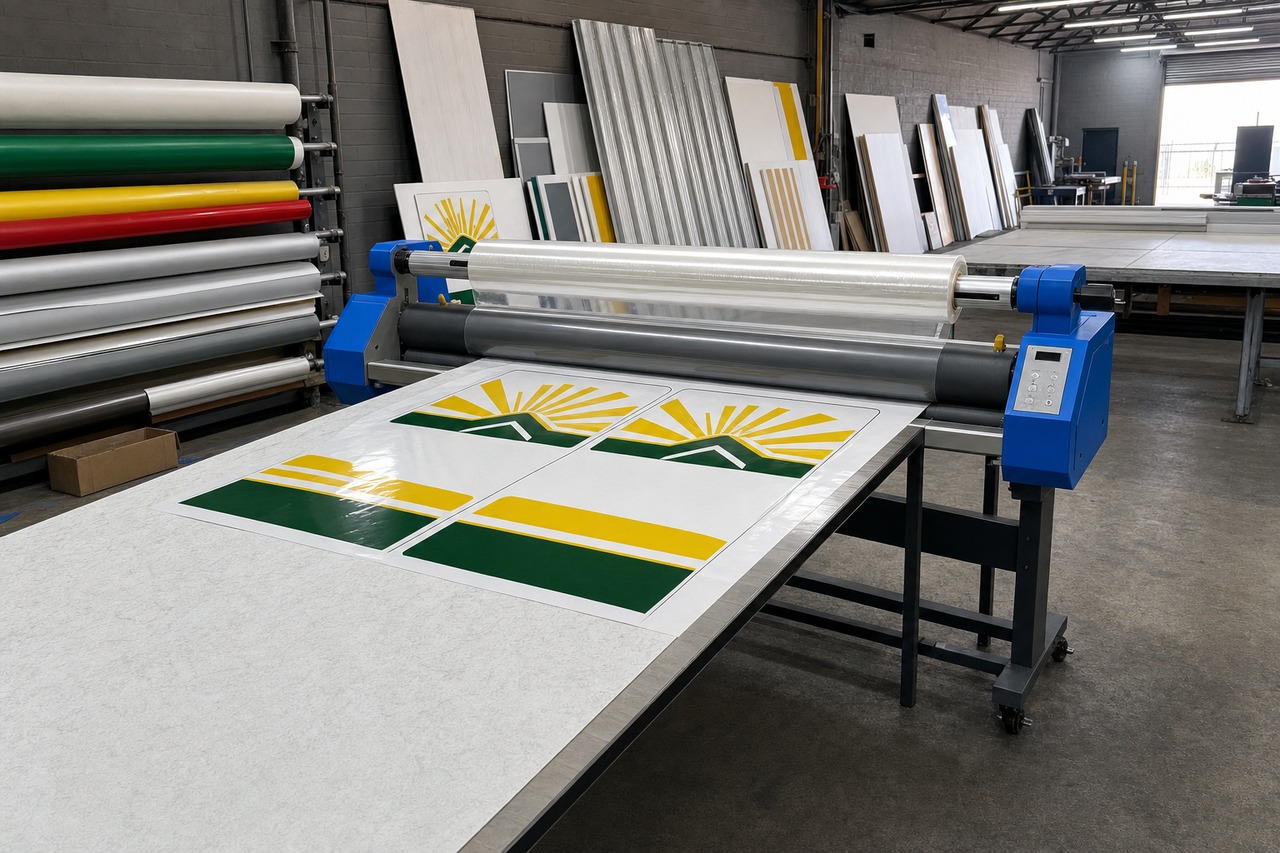
Our 1520mm Rollman hot/cold roll laminator is the same width as the print roll, so a full ganged sheet goes through in one pass with a clear gloss overlaminate. The tips we learned the hard way:
- Clean the rollers and the feed table before every run. Grit under laminate shows as a bump on a door.
- Keep even tension on the laminate roll so the film does not wrinkle at the edges.
- Feed the print straight. A sheet that goes in skew will contour-cut skew too.
Step 5: Contour-cut on the Vinyl4 Studio
Once the panels are laminated, they go to the Vinyl4 Studio 1350mm vinyl cutter with semi-automatic contour cutting. This is the step that turns a printed sheet into decals that can be fitted. We line the cutter up on the registration marks, and it cuts around every logo along the path set up in Step 1.
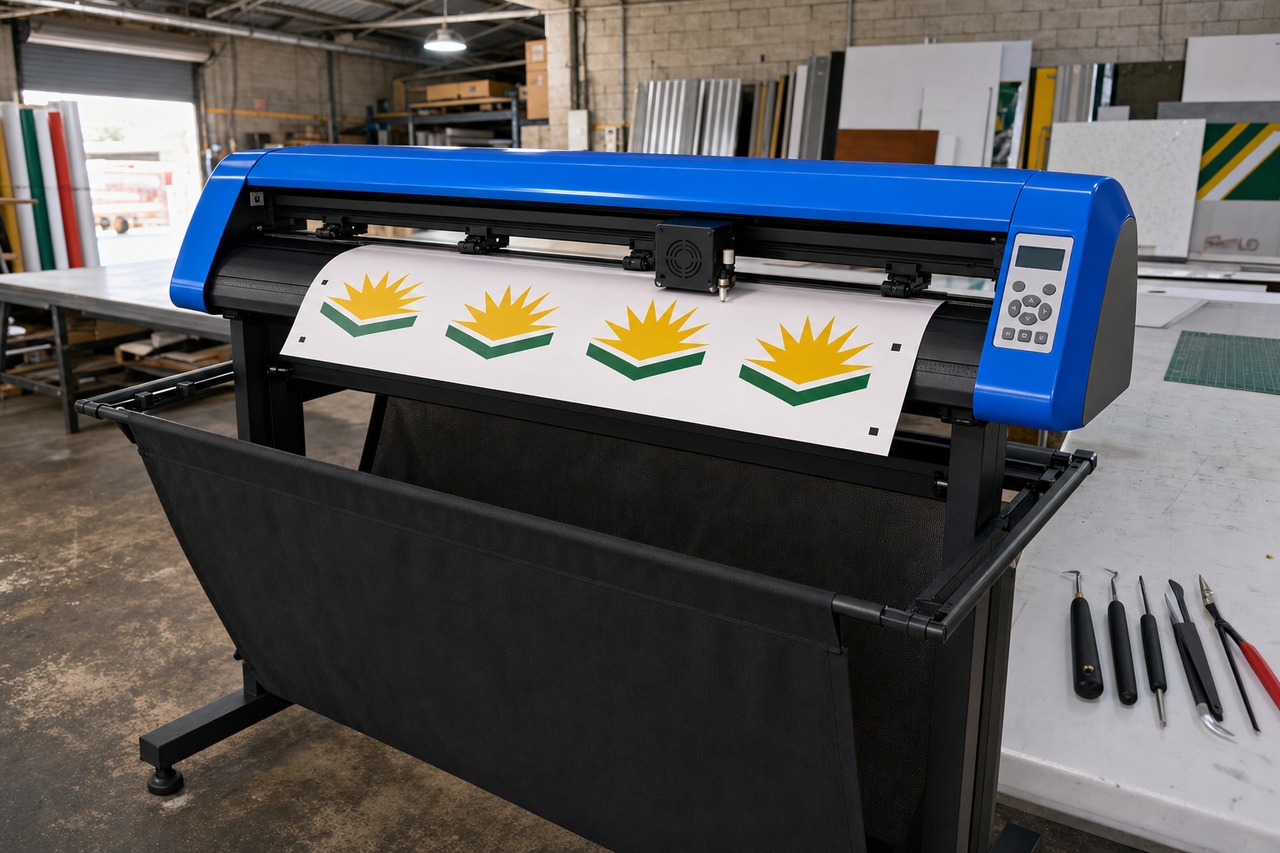
We design and send the cut files from SignMaster, which places the registration marks for us. AM.CO.ZA's note on print and cut is refreshingly clear: the cutter does the cutting, the printer does the printing, and you need both. The same cutter also does all our solid-colour cut vinyl lettering for names, phone numbers and fleet numbers.
Our cutting habits:
- Sharp blades only. We use Roland-type 45° carbide blades and change them as soon as the cut starts to drag on laminated vinyl, which is thicker than plain lettering film.
- Test cut first. A small square in the corner of every sheet. If it weeds cleanly, the job runs.
- Weed on the bench, not on the floor. A proper weeding tool set saves time and saves the corners of fine artwork.
Step 6: Fit at the roller door
Fitment is where all the preparation pays off. We book it around the client's working day, as we explain in our note on vehicle graphics downtime. For the solar installer, the bakkies came in two at a time after their last call-out and left early the next morning, booked around their working day.
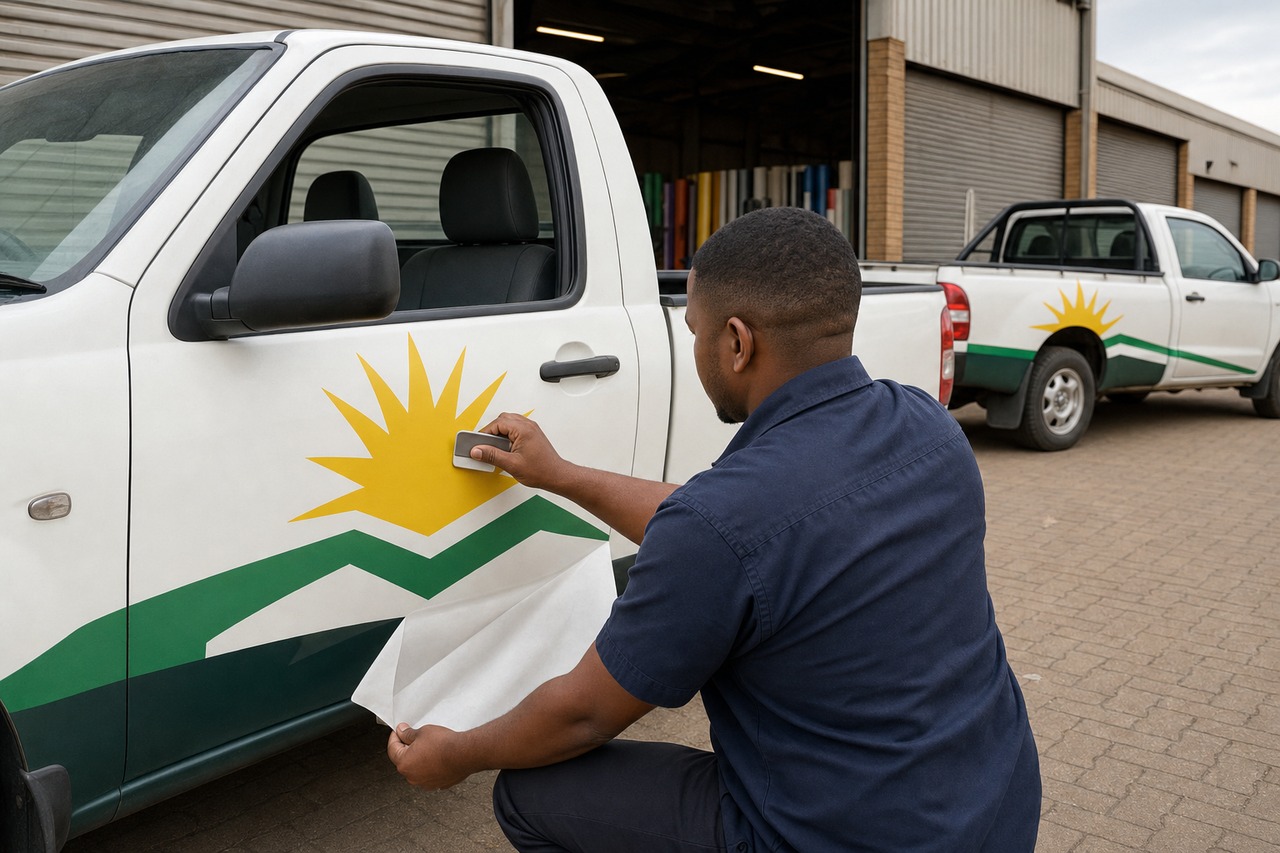
Our fitment routine, from our vehicle fitment service:
- Wash, degrease and dry the panels. Dust from the East Rand gets everywhere, and it ends up under the vinyl if you let it.
- Tape the panel in position and check the line from a few metres back.
- Hinge, peel and squeegee from the centre outwards, working out the air as you go.
- Heat and press the edges around handles and body lines so they do not lift.
- Final check in daylight, then the client gets our care instructions for washing.
Step 7: Silkscreen the matching overalls
A branded fleet looks unfinished if the crew climbs out in plain overalls. Silkscreen is where Executive Screen Printers started, and it is still the right method for a crew order with one or two solid colours. For the solar installer we printed a white back logo and a small chest mark on navy overalls, matching the emblem on the bakkies.
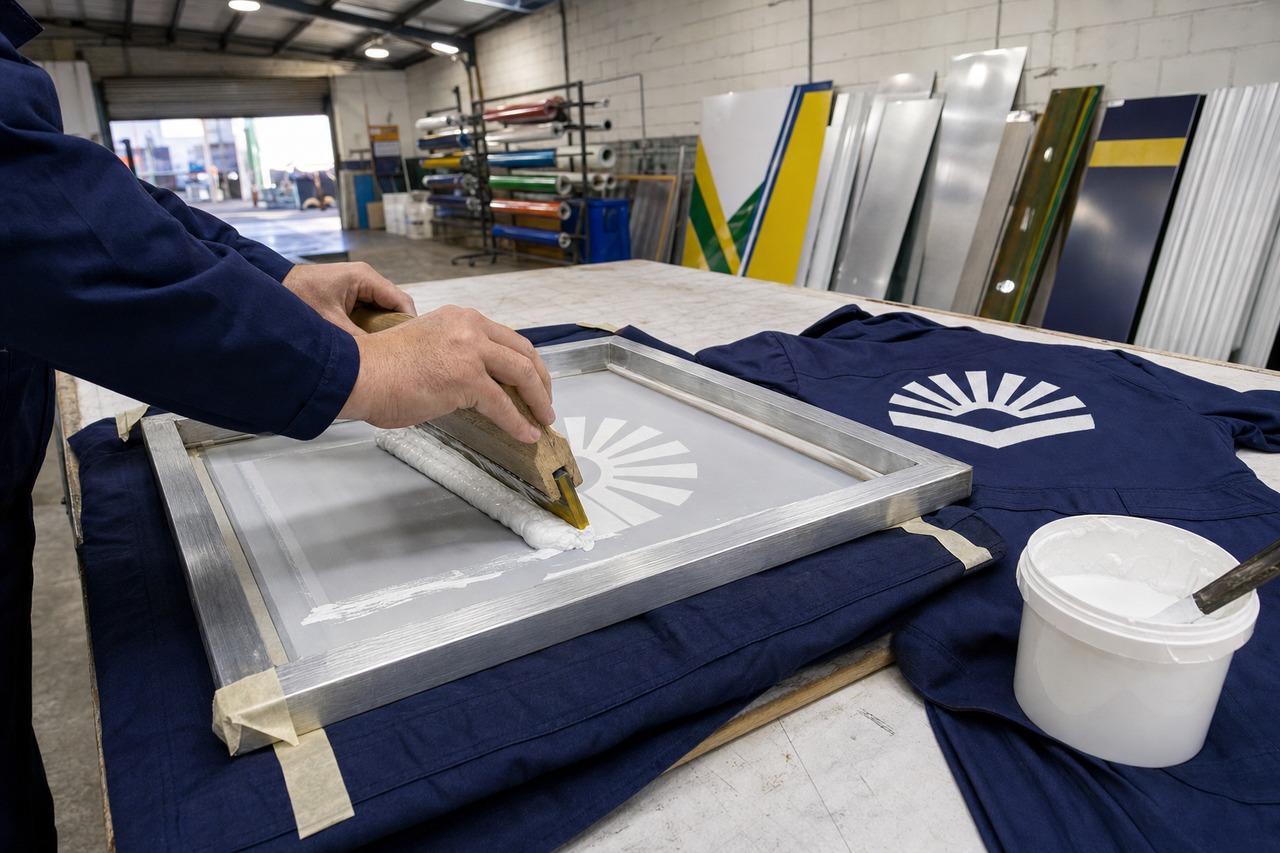
The screen side of the workshop runs on AM.CO.ZA supplies too:
- 250 mesh 400x500mm aluminium screens for chest and back prints, plus a self-tensioning 400x500mm frame that we re-mesh ourselves.
- UV-cure solvent emulsion made for plastisol work on 250 mesh.
- Wooden squeegees in a 340mm width that suits a full back print.
- White plastisol ink, a bright solid white for cotton, polyester and blends, cured at about 170°C for 60 seconds.
Our rule for crew orders is simple: if the artwork has one or two solid colours and the quantity is there, we screen it. If it is a full-colour logo on a handful of garments, we talk to the client about other options first. AM.CO.ZA's note on screen printing versus DTF says the same, and it does not try to sell one machine that "does both". Our overall printing and silkscreen printing pages explain what we offer.
How the team learned the new line
None of us had run a wide-format eco-solvent printer before. AM.CO.ZA posts new videos on its YouTube channel all the time, and a few of them became our training set. We watched the FastCOLOUR ONE videos before the machine arrived and played them again on installation day:
- FastCOLOUR ONE double-head XP600 printer printing on vinyl (AM.CO.ZA on YouTube)
- FastCOLOUR ONE double-head XP600 printer test print and colour alignment (AM.CO.ZA on YouTube)
- Rollman automatic 1520mm hot/cold laminator (AM.CO.ZA on YouTube)
- 400x500 self-tensioning screen printing frame with mesh and squeegee (AM.CO.ZA on YouTube)
Two of the team also did the Large Format Printing Course online, and one added the Vinyl Cutting Course, both from Ambitious Academy, AM.CO.ZA's training academy. They could work through the lessons between jobs without leaving the workshop. The courses covered colour management, RIP setup and finishing, which is where we used to lose time.
The result
The five bakkies were fitted in the evenings, two at a time, booked around the client's working day. Every bakkie carries the same yellow and green, because all the panels came off one printer, in one run, with one ink batch. The crew's overalls match the vehicles, and when the client adds a sixth bakkie next year, the files, colours and cut paths are already on our system.
For us, the bigger change is control. A door panel that gets damaged in a car park can be reprinted, laminated, cut and fitted in our own workshop, and our turnaround estimates are now our own, not a guess based on someone else's queue.
Why AM.CO.ZA
We looked at more than one supplier before we committed. We wanted machines that do what the brochure says and people who pick up the phone when something goes wrong. AM.CO.ZA asked what we print and how much, and matched the printer, the laminator and the cutter to that, instead of selling us the biggest thing in the showroom.
The AM.CO.ZA Johannesburg branch is a short drive from Boksburg and is where we collect most of our consumables. AM.CO.ZA also has branches in Cape Town and Durban, which helps when a client's fleet works out of more than one city. For anything technical we log a call at machinery.support, and if you are a sign shop looking at the same setup, the AM.CO.ZA guide is a good place to start.
Need your fleet and crew branded?
Whether you run two bakkies or twenty, in Boksburg or anywhere across Ekurhuleni, we can now print, laminate, cut and fit your fleet marking and bakkie branding in-house, and silkscreen the overalls to match. Have a look at our earlier Kempton bakkie branding and Benoni fleet graphics projects and read our fleet branding basics. Then send us your vehicle list and logo through a quote request, and our team will take it from there.